If you have a non-domestic (not for Japanese market) phone then there is a good chance that you will not be receiving the automatic disaster alerts which get pushed to mobile devices by the nationwide J-Alert system (全国瞬時警報システム). I will show you how to configure the Yahoo Disaster Information App so you can receive disaster alerts.
What is J-Alert?
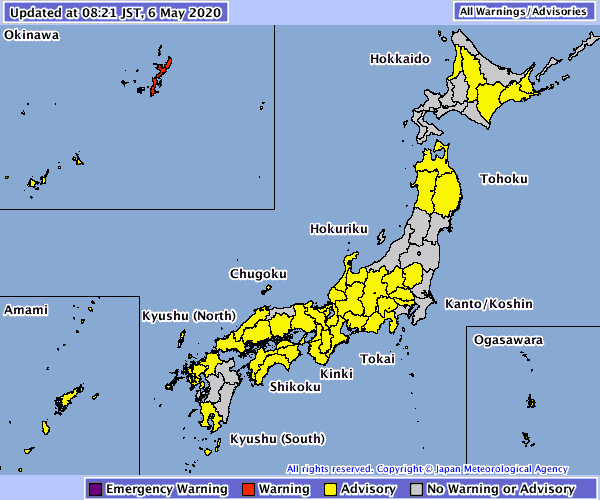
J-Alert is the emergency broadcast system in Japan. Established in 2007, it is used to convey disaster information from the Japanese government to the citizens and residents. I also believe that travellers and visitors to Japan could benefit from this warning system.
The system will report on:
- Earthquake
- Tsunami
- Volcanic Activity and eruptions
- Severe Weather warnings
- Special Emergency – missile launches, terror attacks, etc
If you have brought your phone with you from abroad then it will not have the settings to receive the automatic disaster alerts. Fear not! we can install an application from Yahoo Japan which will alert us.
How to Install the Yahoo App
The app is written in Japanese so it can be confusing if you can’t read or speak Japanese. Fortunately, it’s a simple install process which I have detailed here for you. I have used red circles on the screenshots to help illustrate which buttons to press in order to proceed.
First of all we need to download the app from the Google Play Store.
It is only available from the Japanese Play Store so you will need an account there. If you don’t have an account, please look at my post on how to create one here.
https://play.google.com/store/apps/details?id=jp.co.yahoo.android.emg&hl=en
Once you have the app click install and when done, click on Open.
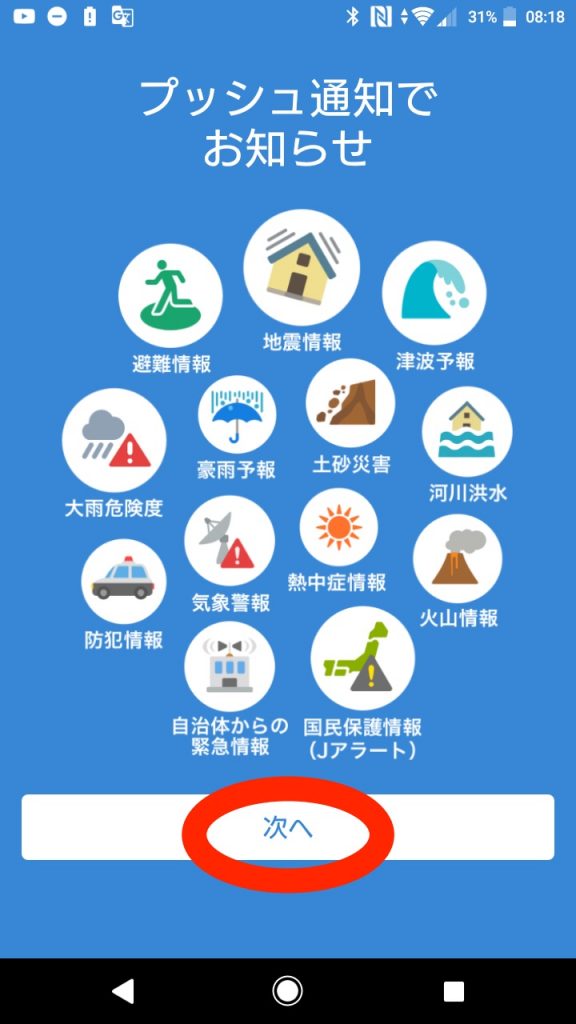
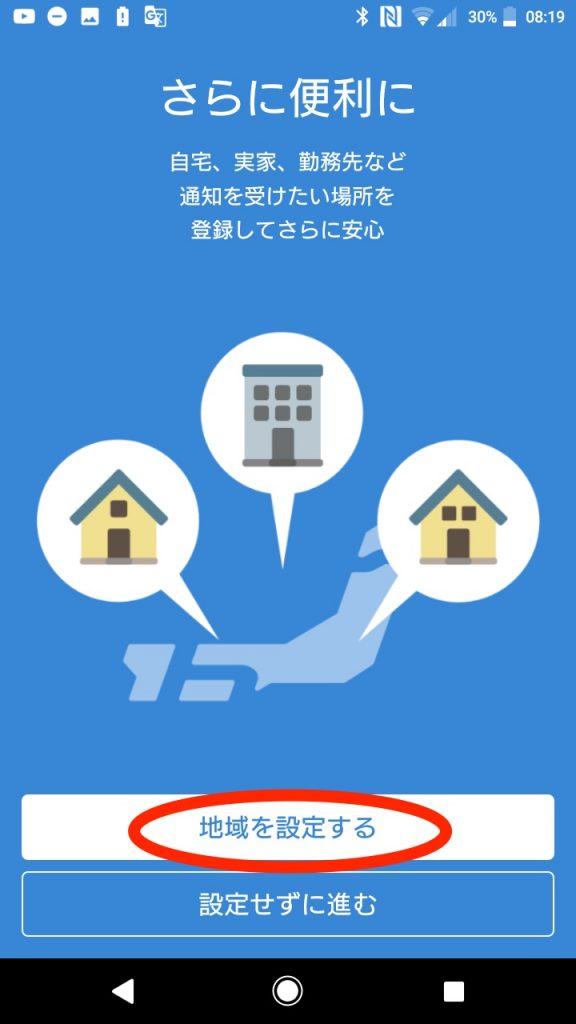
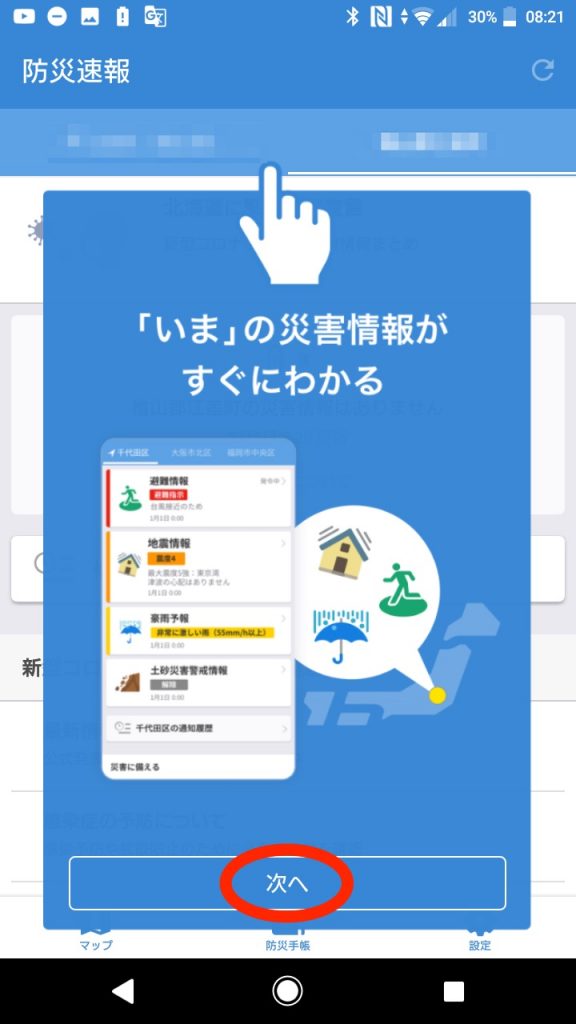
The first screen looks like this, it tells us what type of alerts will be received.
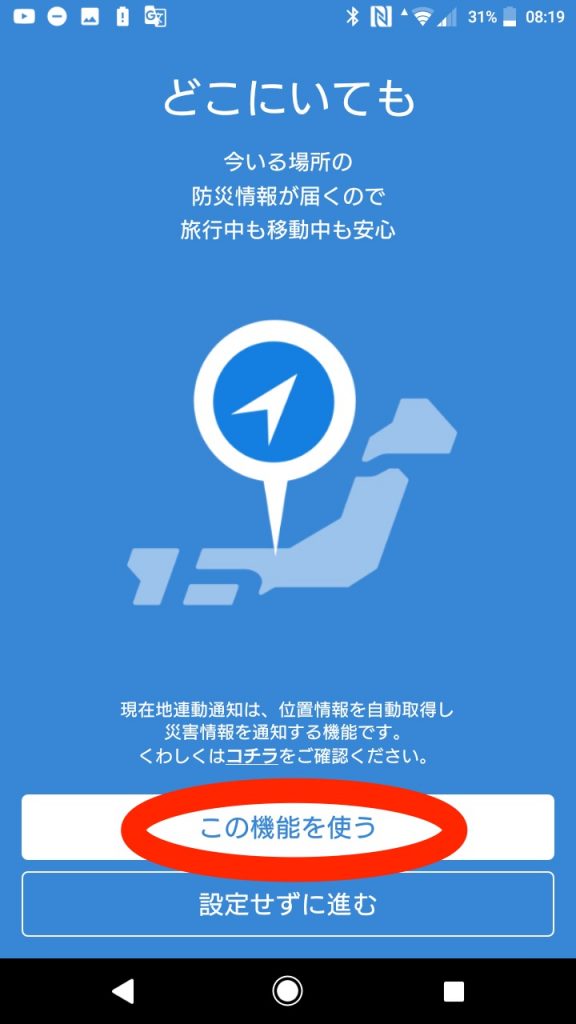
Next we are told that the app uses the phone location to send us disaster alerts relevant to our current location, this is useful when travelling. You can elect not to use location data but I would recommend that you do.
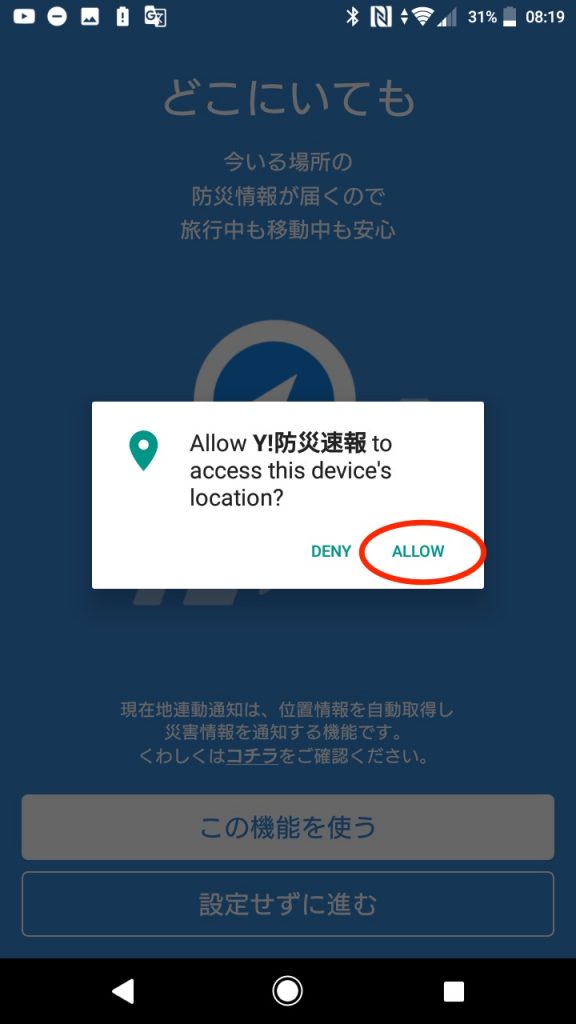
My phone presented me with a second confirmation screen asking me if I wanted to allow the app to use my location data.
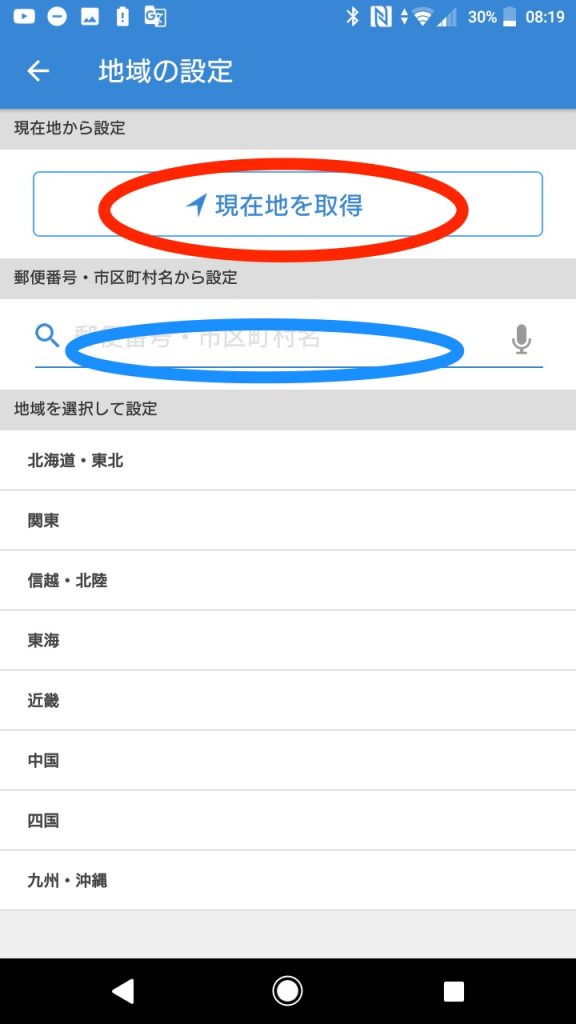
On the next screen you can opt to select a location for alerts. This could be your home, work place, parents home, etc. Alerts for this location will be sent no matter where you are travelling.
You can use the location search feature to set the location or you can type the zip code and city name and click search.
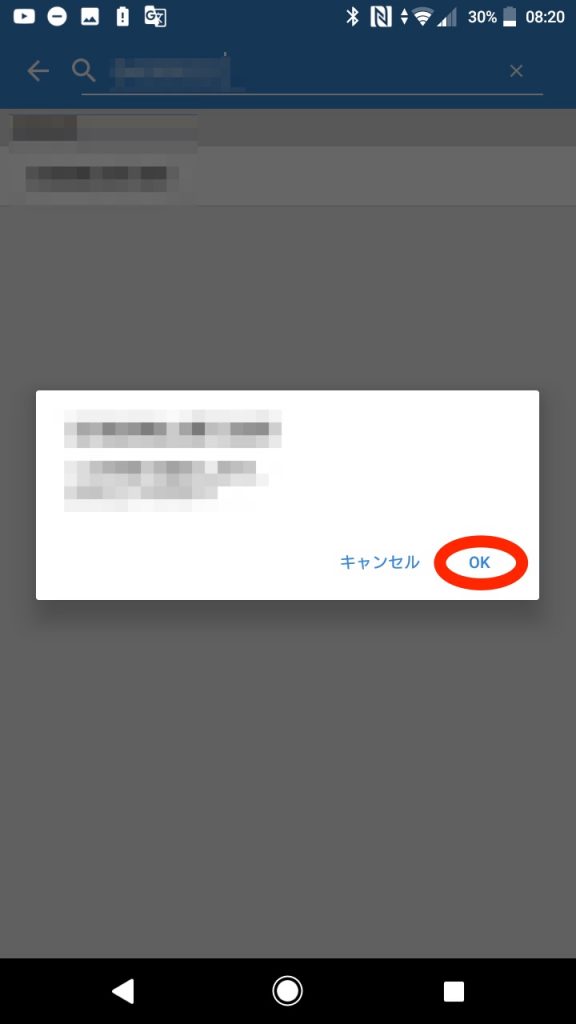
Once you have the desired location, confirm by clicking OK
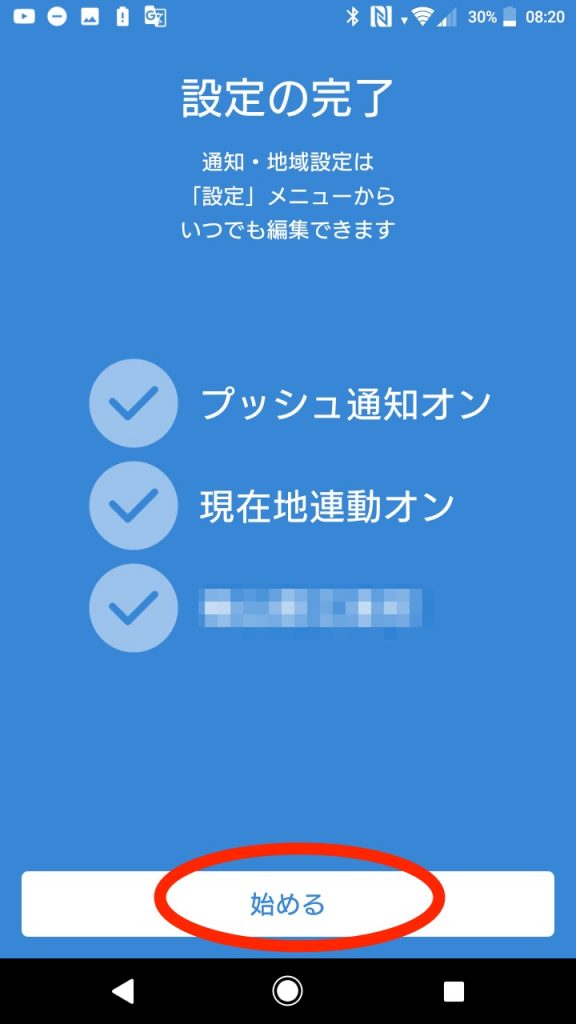
Your settings are now complete and displayed on the next screen. They can be changed from within the settings menu.
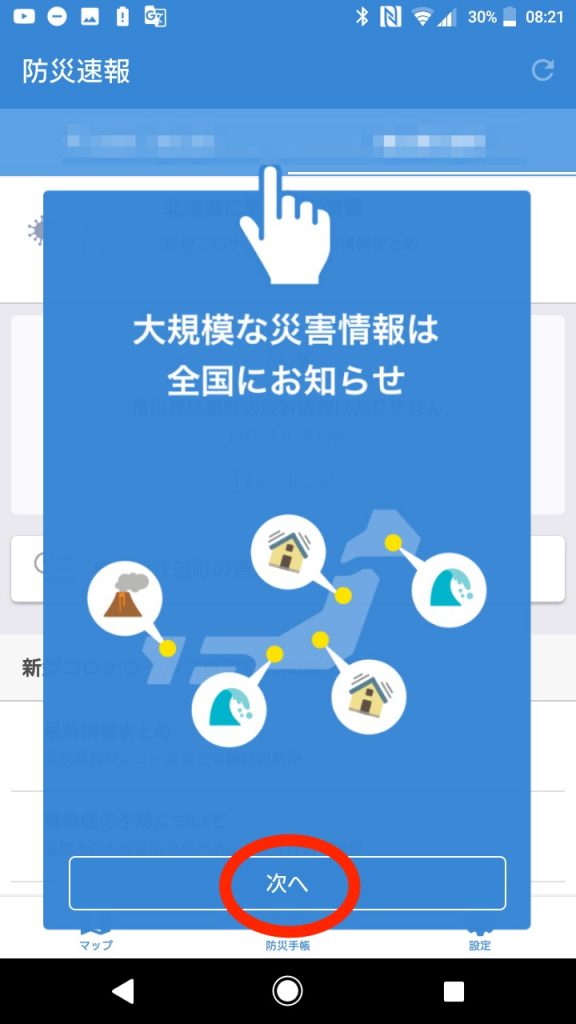
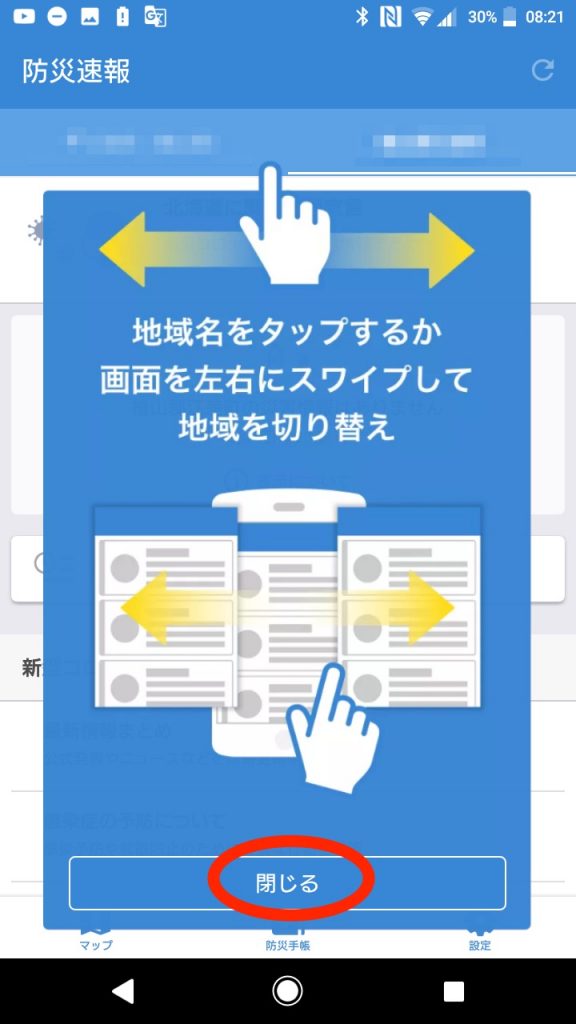
The next few screens are informational and don’t require any input, just click through by pressing the button highlighted in the red circle.
Almost finished! The next part is allowing the app to notify you during Do Not Disturb or silent times. To allow it click the button highlighted in red on the image below. You can also add up to two more alert locations on this screen by pressing on the + icons.
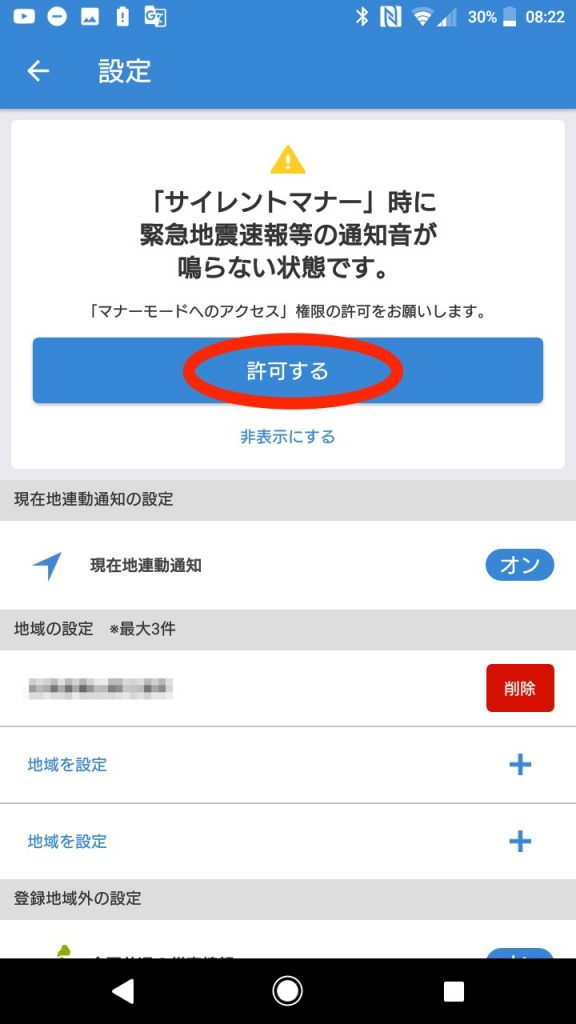
You will have to click allow on your phones pop up to grant access to the app during the Do Not Disturb times.
Finished
Finally, I hear you say, we are done and the app is now set up and ready to receive alerts.